Stitchy crochet and filet patterns explained
What stitchy crochet means, how filet crochet patterns work, and two ways to turn a photo into a chart you can stitch from this weekend.
filet crochet · stitchy crochet · crochet charts
Stitchy crochet and filet patterns explained
- Clear step-by-step crochet instructions
- Beautiful finished crochet result
- Perfect for confident beginners
- Instant digital download included
- Requires basic crochet knowledge
- Specific yarn weight recommended
- Takes 2–4 hours to complete
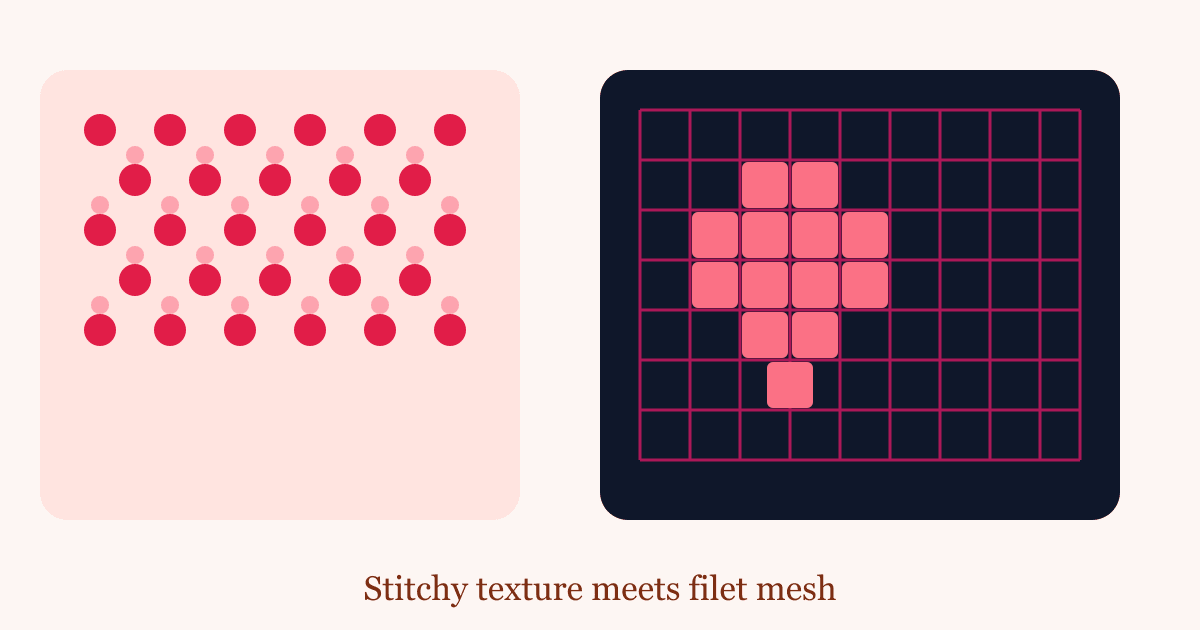
If you have spent any time browsing crochet hashtags lately, you have probably run into the phrase stitchy crochet next to photos of dense, bumpy, gloriously textured fabric. You may have also seen lacy pieces that look like they were woven on a loom, with hearts or flowers floating inside a grid of holes. That second style is filet crochet patterns, and together these two approaches cover most of what people want to make from pictures.
This guide explains both styles, shows where they overlap, and walks through two ways to turn a photo into something you can work from, whether you prefer counting mesh blocks or working textured rows by feel.
What people mean by stitchy crochet
Stitchy crochet is not an official term you will find in old reference books. It is the shorthand crocheters use for projects where the stitches themselves are the design. Think bobble rows, popcorn bumps, cable twists, puff stitch clusters, and raised post stitches that catch the light differently depending on the angle you hold them at.
A plain double crochet blanket is smooth. A stitchy version of the same blanket might alternate bobbles and shells every few rows so that your fingers find a new texture every few inches. Baby blankets often lean this way because texture reads as “cozy” even in a single color, and the fabric hides uneven tension far better than flat stockinette-style work ever will.
Three practical traits define the style:
- Dense fabric. Texture comes from extra yarn packed into each row, so these projects eat yardage and grow slowly.
- Low contrast between right and wrong sides. Many textured stitches look similar flipped over, which makes them forgiving for sofa throws.
- Written instructions over charts. Because most textured stitches are worked in sequence rather than across a grid, patterns usually describe them line by line.
The last point matters when you want to reproduce a picture. Texture gives you depth and shadow, but it is clumsy at drawing outlines. For that, you need mesh.
Filet crochet patterns in plain terms
Filet crochet is one of the oldest picture-making techniques in the craft, and the logic behind these patterns has barely changed in a century. You work a grid of blocks. Each block is either closed (four double crochets that form a solid square) or open (chain spaces framed by double crochets that form a hole). Viewed from arm’s length, the solid blocks form lines and shapes while the open blocks form the background.
That is the entire trick. A filet chart is essentially a low-resolution image where every cell answers one question: filled or empty?
Why filet survived the jump to digital
Old filet patterns came as printed grids in thread magazines, meant for doilies and table runners worked in cotton size 10. The same grid logic maps perfectly onto computer screens. Any black-and-white image can be reduced to cells, and each cell becomes a block. This is why filet keeps showing up in modern makes: name panels for wedding gifts, pixel-art wall hangings, video game sprites worked in DK weight, silhouette portraits of pets.
The technique also scales gracefully. A chart with 50 columns works up quickly in worsted weight as a cushion cover. The same chart in size 20 thread becomes a delicate tray cloth. The picture stays identical; only your gauge changes its physical size.
Reading your first chart without losing your place
Charts are worked from the bottom up, and because you turn your work at the end of every row, odd-numbered rows read right to left while even rows read left to right. Beginners who ignore this end up with mirrored images, which is only a problem if your subject has an obvious left and right side. A heart forgives you. A lettered name does not.
Two habits prevent most early mistakes. First, print the chart and cross off each row as you finish it. Second, place a sticky note above the row you are working rather than below it, since your eyes tend to drift upward into rows you have already completed.
Turning a photo into a chart
There are two routes from picture to pattern, and honest crafters eventually try both.
The manual route
Open any spreadsheet, shrink the column widths into squares, and start filling cells with color to match a simplified version of your photo. Or print the photo at low resolution and trace the major shapes onto graph paper. You decide how many columns wide the piece should be, then reduce every detail until only the essential lines remain.
Manual conversion teaches you more about the craft than any tutorial, because you are forced to make judgment calls. Does the cat’s whisker survive at 60 columns wide? Probably not. Do the eyes need their own filled block to read correctly at three feet away? Absolutely.
Expect your first hand-drawn chart to take an evening or two, and expect to redraw it once after working the first ten rows and realizing the proportions drifted.
The tool-assisted route
Automated converters compress that judgment work into seconds. You upload a photo, choose a target width in stitches or blocks, adjust contrast until the shapes separate cleanly, and receive a grid plus written instructions. Our own custom crochet pattern service handles this whole pipeline, including the step most free converters skip: turning the finished grid into row-by-row text you can follow without counting cells against a screen.
Automation will not make aesthetic decisions for you, though. If you feed it a busy vacation photo, you will get a noisy chart. Feed it a high-contrast subject on a clean background and the output improves immediately.
Where things go wrong, realistically
Reading complex filet charts from a screen can strain your eyes if the contrast is low. Gray gridlines on a white background look fine for five minutes and miserable for five hours. Print large, or invert your screen colors, or buy a cheap tablet stand so you can prop the chart at the same height as your hands.
Counting errors also compound in filet work in a way they do not in textured pieces. Miss one block on row 12 of a textured blanket and nobody notices. Miss one block in a mesh background and the hole sits visibly off-center for the rest of the project. Fix mistakes immediately by unpicking to the row below; filet fabric unravels cleanly because the structure is so regular.
Yarn choice causes the other common disappointment. Filet pictures need crisp definition, which means firmly twisted, smooth yarn and a hook sized down from what the ball band suggests. Fuzzy or loosely plied yarn fills in the open mesh and turns your crisp heart into a blur. If you substitute yarn, work a small swatch of the first few chart rows first and check that the holes stay square.
Choosing between texture and mesh
Use stitchy techniques when you want the surface itself to be the interest: solids, monochrome gifts, anything that gets heavy daily use. Use filet when there is an actual picture to show: names, silhouettes, geometric motifs, pixel art.
They combine well, too. Plenty of designers border a filet panel with several inches of textured stitch rows, which frames the picture and adds heft so the panel hangs flat instead of curling.
Getting started tonight
Pick a subject with strong contrast, like a black cat on a white pillow or a simple two-color logo. Decide on a width between 40 and 80 blocks; smaller than that loses detail, larger than that commits you to weeks of work. Sketch it manually if you want to learn the mechanics, or send the photo straight to our pattern generator if you would rather spend your evening with a hook instead of a spreadsheet.
Either way, work a test swatch of the first six rows before committing to the full piece. Six rows is enough to confirm your gauge, your contrast, and your sanity, and it costs you twenty minutes.
Turn Any Image Into a Crochet Pattern
Have a photo of a crochet project you love? Our Image-to-Pattern service transforms any picture into a detailed, row-by-row crochet pattern.
Try It NowInstant AI Generation • High-Quality PDF