How to make a crochet pattern from any photo
A walkthrough for making a crochet pattern from any photo: choosing the image, using a maker online, picking yarn weight, and reading rows.
make a crochet pattern · photo to pattern · crochet tutorial
How to make a crochet pattern from any photo
- Clear step-by-step crochet instructions
- Beautiful finished crochet result
- Perfect for confident beginners
- Instant digital download included
- Requires basic crochet knowledge
- Specific yarn weight recommended
- Takes 2–4 hours to complete
Last month my sister texted me a photo of a felt fox ornament she saw in a boutique with the message “can you make this but in crochet.” Five years ago that request meant an evening with graph paper, a pencil, and a lot of erasing. Today it means five minutes of work and a pattern you can start stitching the same night. This tutorial walks through exactly how to make a crochet pattern from any photo, using the same steps I gave her.
If you already know what you want to make, you can skip ahead and open our crochet pattern maker online right now. Everything below still applies; the tool waits patiently while you pick your photo.
Start with the right photo
The single biggest difference between a pattern people finish and a pattern that dies at row four is the photo you feed in. The generator can only work with what it sees, so grade your candidate shot before uploading anything.
Look for one subject that fills most of the frame. A dachshund sitting against a white wall converts beautifully. The same dachshund lying on a floral couch disappears into the background noise, and no amount of clever processing will separate them afterward.
Lighting matters more than camera quality. Soft, even daylight from a window beats a dim room lit by a ceiling bulb. Harsh shadows crossing your subject read as dark patches in the finished grid, and those patches become mystery color changes you never planned for.
Contrast is what makes shapes readable. Dark subject on light background, or the reverse. If your photo fails here, most phones have a one-tap edit mode where bumping contrast and dropping exposure fixes it in seconds. A quick pass through a photo quality enhancer helps too when the original is slightly soft; sharper input means cleaner edges for the stitch calculation to lock onto.
One more habit worth building: take three or four shots from slight angles while you are at it. Having options saves you a second trip back to the object later.
Upload it to the maker online
With your photo ready, head to the generator and upload it. You will see a preview almost immediately as the AI maps the image onto a stitch grid and starts identifying regions: background, body, features, color boundaries.
Two settings deserve your attention on this screen.
Grid width controls resolution. Wider grids capture more detail but produce bigger projects and more color changes. As a starting point, 40 to 60 columns works for cushions and wall panels, 80 to 120 for detailed graphgans, and smaller rounds suit amigurumi figures. When in doubt, go narrower; a clean 50-column fox beats a muddy 90-column fox every time.
Palette size controls how many yarn colors the output uses. This is where beginners get burned, so let me save you some money. A photo contains thousands of shades, and if you let the palette run wild you will end up with a materials list calling for twelve nearly identical creams. Stick to 4 to 5 main colors for your first projects. Fewer colors mean cheaper shopping, faster color changes, and a bolder finished picture. You can always add nuance in version two.
Press generate and give it a moment. What comes back is a draft written by a machine that understands crochet structure, not just pixels.
Choose the yarn weight before you buy anything
Here is a step most tutorials skip, and skipping it costs real money. The same pattern produces wildly different physical sizes depending on yarn weight, so decide on the finished object first, then work backward.
Bulky or chunky yarn with a 5.5mm to 6.5mm hook turns a 50-column chart into a pillow-sized panel quickly. It hides small imperfections and works up fast, which makes it ideal for first attempts. The tradeoff is detail loss: fine features like whiskers or thin stripes vanish into the thickness of the stitches.
Worsted weight with a 4mm to 5mm hook is the all-rounder. Most patterns generated for household items assume this range, and the color definition stays crisp enough for faces and lettering.
Sport or DK weight shrinks everything down for detailed work like ornaments, and thread weights take you into doily territory where patience becomes the main material.
Match your hook to the ball band suggestion, then adjust after swatching rather than trusting it blindly. Your personal tension runs tighter or looser than the standard, and only a swatch reveals by how much.
There is also a color-matching trap waiting here. The generated palette names colors, but your local shop’s “burgundy” and the pattern’s burgundy may be different animals entirely. Rather than hunting twenty skeins to match the spec perfectly, accept close matches that keep the value relationships intact: lights stay light, darks stay dark, and the picture survives translation.
Follow the row-by-row output
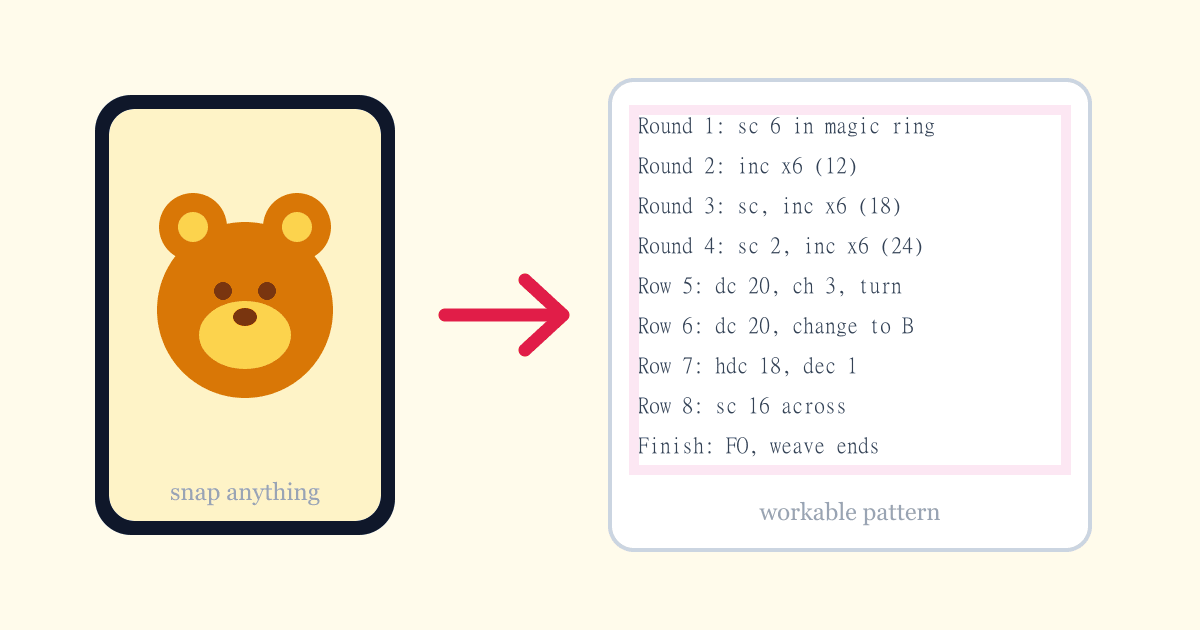
A good generated pattern reads top to bottom like any written pattern you have followed before. Rounds for dimensional pieces, rows for flat panels, each line ending with the stitch count in parentheses so you can verify before moving on. That count is your best friend; checking it takes ten seconds and catches almost every error at the row it happened instead of six rows later.
Color changes appear inline where they occur. When a row says change to color B, finish the last stitch of the old color up to its final yarn-over, then pull B through to complete it. This keeps the transition locked tight with no gaps.
Work the first few rows slowly even if you are experienced. Generated patterns sometimes use abbreviations in a slightly different order than vintage books taught you, and the first ten rows teach you the pattern’s personal dialect. After that your hands take over and the rhythm carries you.
Print the pattern or prop your tablet above your workspace. Reading from a phone flat on the table leads to lost rows, and lost rows in a colorwork project mean unpicking color changes, which nobody enjoys.
Fixing the rough spots
Generated drafts are strong first versions, not final scripture. Expect to make small edits, and know which edits are safe.
Proportion tweaks are safe and common. If the muzzle came out long, remove a decrease round. If the ears sit too low, shift their attachment round up one. These changes do not break the surrounding structure because each round is self-contained.
Structural rewrites are riskier. Changing the total stitch count mid-piece affects every round after it, so only do this if you are comfortable recalculating increases. When a section looks wrong beyond tweaking, run the photo through the AI crochet pattern generator again with a narrower grid or a smaller palette instead of fighting a bad foundation.
Keep a pencil next to you and mark corrections directly on the printout. After two or three projects you will notice your personal correction patterns, and future drafts will need fewer of them.
From finished pattern to finished object
Block your finished piece before judging it. Colorwork especially looks lumpy and crooked straight off the hook, then snaps into focus after a wet block and twenty minutes under a towel. Give the fabric that chance before deciding the whole thing failed.
Photograph the result next to the original photo. The comparison teaches you more about conversion quality than any article could, and it tells the algorithm’s next version something too: subjects like yours convert well, or need wider grids, or want simpler palettes.
That is the entire loop. Photo, upload, settings, yarn decision, rows. The barrier between “I saw something I loved” and “I am holding it in crochet form” has never been shorter, and the skills you practice on project one carry straight into project ten.
Turn Any Image Into a Crochet Pattern
Have a photo of a crochet project you love? Our Image-to-Pattern service transforms any picture into a detailed, row-by-row crochet pattern.
Try It NowInstant AI Generation • High-Quality PDF