Convert photo to crochet pattern: how it works
How online crochet pattern makers turn pictures into row-by-row instructions, what free tools can and cannot do, and the steps makers use first.
convert photo to crochet pattern · crochet pattern maker online · photo to pattern
Convert photo to crochet pattern: how it works
- Clear step-by-step crochet instructions
- Beautiful finished crochet result
- Perfect for confident beginners
- Instant digital download included
- Requires basic crochet knowledge
- Specific yarn weight recommended
- Takes 2–4 hours to complete
You have a photo. Maybe it is your dog making his grumpy face, a cartoon character your daughter loves, or the amigurumi you saw at a craft fair with a forty-dollar price tag. You want a pattern for it, and searching Ravelry for “grumpy dachshund plushie” is not going well.
This is the exact problem a crochet pattern maker online exists to solve, and the good ones have gotten surprisingly capable in the last couple of years. This tutorial walks through how these tools work, how to convert photo to crochet pattern output that is genuinely usable, and which shortcuts experienced makers take before they ever press generate.
What happens inside an online pattern maker
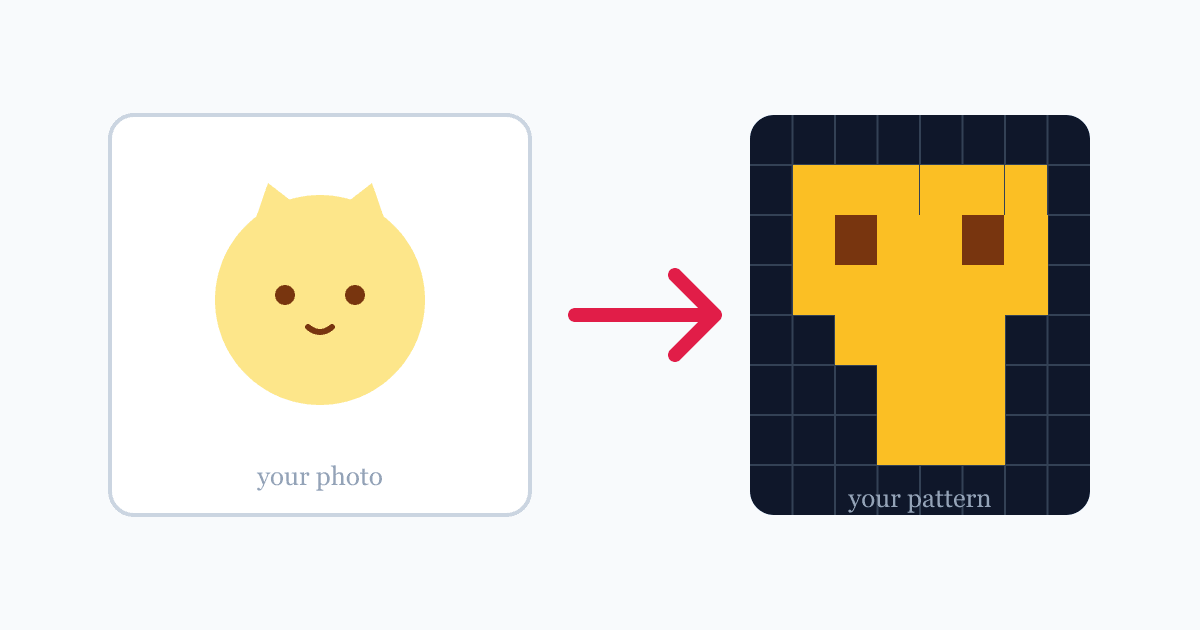
Every photo-to-pattern tool does some version of the same three jobs. It reduces your image to a grid of cells, assigns each cell a color from a workable yarn palette, then translates that grid into instructions: either written rounds and rows or a chart with stitch counts.
The smarter tools add a fourth step, and this one separates usable patterns from pixel soup. They interpret the subject. A vision model looking at your dachshund photo understands it is seeing ears, a snout, and a body plan, so the written output describes increases and decreases shaped like an actual dog instead of a color-by-number rectangle that vaguely resembles one.
Output formats vary by tool. Graphgans and tapestry crochet projects need charts plus color changes per row. Amigurumi needs written rounds with stitch counts and assembly notes. Some services produce both; many free ones only produce the chart and leave you to invent the shaping.
Picking a photo that translates well
Garbage in, garbage out applies double here. Before uploading anything, grade your candidate photo against four criteria:
- One clear subject, centered, filling most of the frame.
- Strong contrast between subject and background. White background beats wooden table; wooden table beats busy kitchen counter.
- Even lighting without harsh shadows crossing the subject.
- A limited color range. Three to five dominant colors convert cleanly. Sunset gradients do not.
That last point deserves emphasis. Yarn comes in discrete colors, but photos contain thousands of shades. Every converter has to collapse that gradient into the nearest available yarn colors, and soft transitions become visible bands of solid color in the finished piece. Portraits suffer most from this. Logos and cartoons, drawn with flat colors in the first place, translate almost perfectly.
If your only photo has a cluttered background, spend two minutes with any free background-removal tool before uploading. That single edit improves results more than every other tip in this article combined.
Step by step: from upload to written pattern
1. Prep and upload
Crop tight to the subject. Straighten it so the subject sits upright rather than diagonal. If the tool asks for a target size, think in finished inches, not pixels: a 40-stitch-wide panel at worsted weight gauge runs about 10 inches wide, while the same 40 columns as amigurumi rounds produces a palm-sized plush.
2. Generate, then read the output properly
When the tool finishes, resist the urge to buy yarn immediately. Read the pattern like an editor. Check that round counts increase smoothly on rounded parts, that color-change rows list their stitches in order, and that symmetric features (ears, arms, wheels) mirror each other. Most AI drafts are structurally sound and locally wrong somewhere; your job is finding the spot.
3. Swatch the risky section
Work the most distinctive feature first, whether that is the face or a central motif, using scrap yarn in roughly the right weight. Twenty minutes here tells you if the proportions hold in three dimensions. Unpicking twenty minutes of work costs nothing. Discovering after eight hours that the muzzle is twice too long costs a full evening and a chunk of your patience.
This is also where our image to pattern generator earns its keep: drafts arrive structured by feature, so swatching the face separately is straightforward instead of guesswork across a wall of chart cells.
Charts, written rounds, or both
Know which output format you need before choosing a tool, because they are not interchangeable. Charts suit flat work: tapestry crochet, graphgans, corner-to-corner projects where every cell maps to one stitch and color changes happen at visible boundaries. You follow with your eyes and count against the grid.
Written rounds suit dimensional work. An amigurumi dachshund needs instructions like “round 14: dec 6 times, sc 12 (18)” and assembly notes for ears and limbs. No chart conveys that shaping; it only exists in prose.
The strongest tools emit both from one upload, chart for flat sections and prose for shaping. If your tool of choice produces only charts and you want a plushie, expect to do genuine design work converting cells into rounds yourself, which is a real skill with its own learning curve. When that sounds like more spreadsheet than craft, upload your photo to our generator and let the written rounds come out ready to edit.
Free versus paid makers
Free converters generally stop at the grid stage. You get a chart, sometimes a rough color map, and no guidance on shaping or assembly. For flat projects worked in tapestry technique by someone who already knows how to read charts, that is genuinely enough.
Paid services and AI generators charge because they handle interpretation and instruction-writing, which is where the real labor sits. Expect prices between zero and ten dollars per pattern or a monthly subscription if you generate often. The honest math: one failed premium-yarn project costs more than a year of subscriptions, so if you convert photos regularly, paid pays for itself quickly.
Trial several tools on the same photo and compare outputs directly. Quality differences between services are large and photo-dependent; the best choice for a pet portrait may differ from the best choice for a logo blanket.
Common failure modes worth knowing
Fine detail disappears first. Individual whiskers, thin stripes, and small text vanish below roughly 60 columns of resolution. Widen the target or simplify the source image.
Color banding appears on gradients, as covered above. Choose images with flat color regions.
Proportions drift in AI-written plushie patterns, usually around limbs and muzzles. The swatch-first habit catches this early.
Finally, printed charts beat screens for long sessions. Working from a phone propped against a yarn ball leads to row-skipping, and row-skipping in a 90-row tapestry is how projects get abandoned in closets.
Editing your draft like a designer
Treat generated output as a strong first draft with the boring decisions already made. Your edits should focus on proportion, not structure. Shorten a snout by removing two decrease rounds. Widen a stripe by repeating its row sequence once more. Swap the suggested palette for yarn you can buy locally, keeping value contrast (light versus dark) intact even when the exact hues differ.
Keep notes as you edit. After three or four conversions you will have personal rules, like always adding one safety round of single crochet around facial features, that make your future drafts better than what any tool outputs raw.
Your first conversion
Pick something forgiving: a two-color silhouette, a cartoon with bold outlines, a geometric shape. Convert it, swatch the center feature, adjust, then commit to full-size work once the test section looks right. The whole loop from photo to finished washcloth-sized piece takes a relaxed weekend, and it teaches you more about pattern mechanics than a month of following other people’s designs.
Turn Any Image Into a Crochet Pattern
Have a photo of a crochet project you love? Our Image-to-Pattern service transforms any picture into a detailed, row-by-row crochet pattern.
Try It NowInstant AI Generation • High-Quality PDF